Section 5.6 Nested Control
Subsection 5.6.1 Accessing Two Dimensions
It is not uncommon to find a two-dimensional layout of objects. Think of the cells of a spreadsheet, keys on a keyboard, pixels on a display, or bricks in a wall. The position of elements in a two-dimensional layout are characterized by two coordinate or two index values: one for the first dimension and another for the second dimension. These might be the rows and columns of a spreadsheet or the x,y location of pixels in an image. Accessing each of these elements requires us to iterate both over one dimension as well as the other dimension to generate all possible indexes or coordinate pairs. This is accomplished with nested iteration, for example, a while-statement within a while-statement. The outer while-statement generates the index or coordinate for one dimension, and for each of these values, the inner while-statement generates the index or coordinate for the other dimension. All iterations of the inner statement is repreated for every iteration of the outer statement. The result is that on each pass of the inner iteration, we have a unique pair of indexes or coordinate values.
Let’s write a program that generates a two-dimensional layout of fixed-size Rectangle objects. Creating the objects is straightforward. What we need is a way to generate all Rectangle locations, and nested iteration does that for us. Trace Listing 5.6.1 and how it accomplishes the job.
// Grid1.java
import doodlepad.*;                         // Import graphics

public class Grid1 {
  public static void main(String[] args) {  // Start execution
    int x, y;                               // Helpers;

    x = 5;                                  // Init x
    while (x <= 550) {                      // x-coordinate loop
      y = 5;                                // Init y
      while (y <= 550) {                    // y-coordinate loop
        new Rectangle(x, y, 110, 50);       // New Rectangle
        y = y + 60;                         // Increment y
      }
      x = x + 120;                          // Increment x
    }
  }
}
Grid1.javaIn this case we count loop iterations with variables
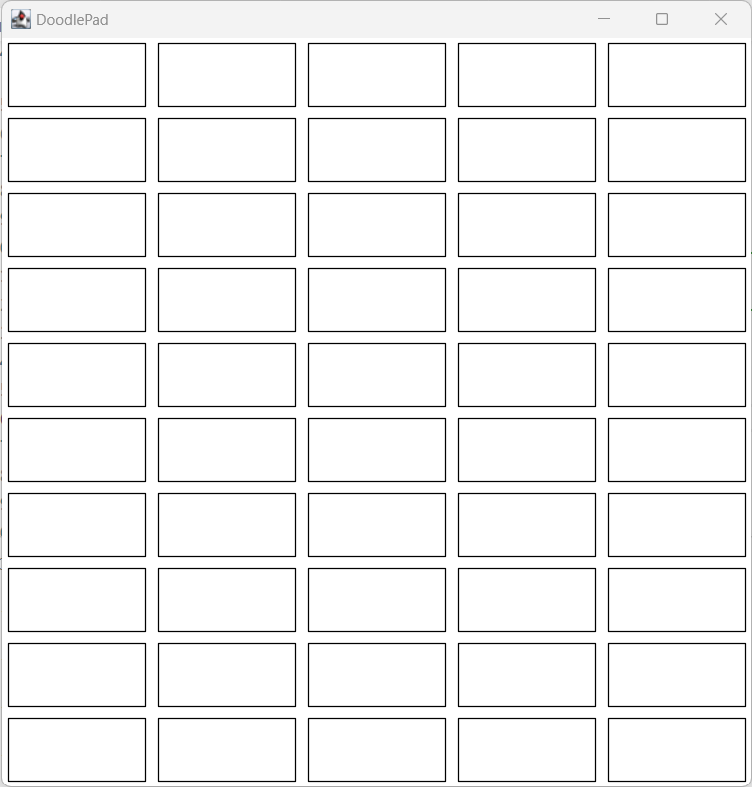
x and y, which are also used as the coordinates of each Rectangle object created. The result is the figure on the right. Note that it is not necessary to save references to new Rectangle object instantiated unless we have a need to access them later. In this case we are generating the layout only, so we instantiate each Rectangle, but do not save references.
Grid1.javaSubsection 5.6.2 Nested Branching to Simplify Condition Testing
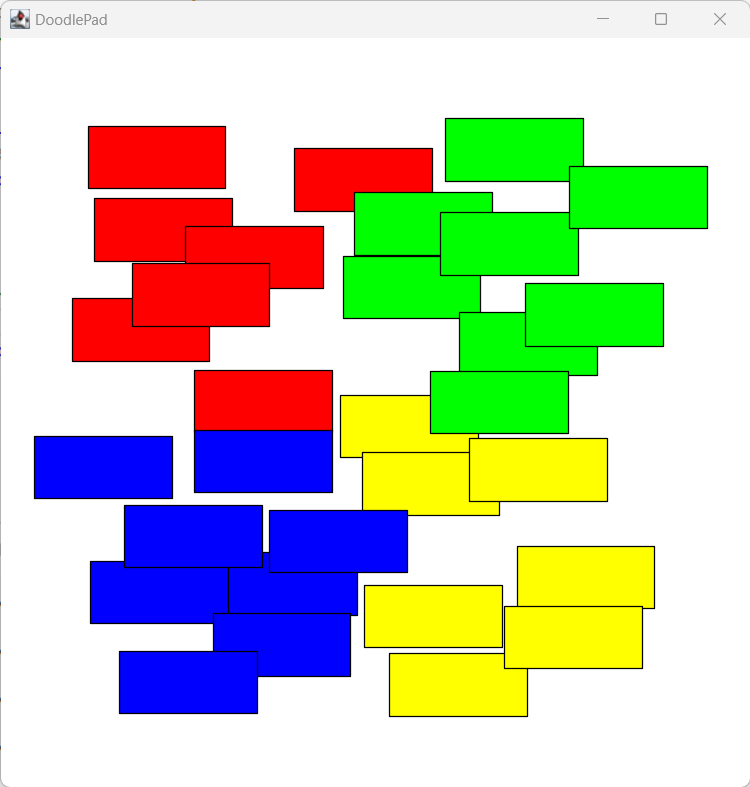
In this section we want to write a program that responds to the user clicking on the Pad object (the window). Wherever the mouse is clicked, we want to create a new Rectangle object and set its fill to a color that depends upon the coordinate values. If the mouse is clicked in the upper-left of the window, the Rectangle should be filled with red. If the mouse is clicked in the upper-right of the window, the Rectangle should be filled with green. If in the lower-left, fill with blue, and in the lower-right, fill with yellow. We can test the mouse coordinates after a click and branch to one of four blocks of code that set different fill colors. Deciding on a branch requires that both the mouse x and y coordinates are tested. If a window has dimensions 600 × 600, we could use the following four-branch if-statement to make the correct determination.
if (x < 300 && y < 300) {
  r.setFillColor(255, 0, 0);
else if (x >= 300 && y < 300) {
  r.setFillColor(0, 255, 0);
else if (x < 300 && y >= 300) {
  r.setFillColor(0, 0, 255);
else if (x >= 300 && y >= 300) {
  r.setFillColor(255, 255, 0);
}
The first two branches and the second two branches have common tests on the value of y. Recognizing this, we can simplify by only testing each y value once in a outer branch, and then further testing the x value within the inner code blocks of each branch.
To demonstrate this idea, study the
onPadClicked(…) method in Listing 5.6.3. Compile and run the program to try it yourself. As the window is clicked, a new Rectangle object is instantiated and filled with a color that depends on mouse coordinate values. Notice how we use the else in each if-statement to simplify the conditional tests. With nested branches we only actually evaluate two relational statements, x < 300 and y < 300. This is much simpler than the four-branch if-statement in the snippet above. Fewer details to get right means fewer ways to get it wrong.// Grid2.java
import doodlepad.*;
public class Grid2 {
public static void main(String[] args) {
// Get reference Pad (window)
Pad pad = Pad.getPad(); // Set event handler method
pad.setMousePressedHandler( Grid2::onPadPressed );
}
// Event handler method
public static void onPadPressed(Pad pad, double x, double y, int but) {
// Instantiate new Rectangle
Rectangle r = new Rectangle(x-60, y-25, 110, 50);
if (y < 300) { // Set fill with nested branches.
if (x < 300) {
r.setFillColor(255, 0, 0); // Red
} else {
r.setFillColor(0, 255, 0); // Green
}
} else {
if (x < 300) {
r.setFillColor(0, 0, 255); // Blue
} else {
r.setFillColor(255, 255, 0); // Yellow
}
}
}
}
Grid1.javajavac -cp doodlepad.jar Grid2.java java -cp .;doodlepad.jar Grid2

Grid2.javaHow can you modify these tests to change the size of the rectangular region that assigns each color? Can you add a third branch level that uses the button number parameter (
but) passed to onPadPressed(…) to change the color palette used depending upon whether the left of right button is clicked?Subsection 5.6.3 Modify Iteration with Branching
In our final example, lets repeat the first example
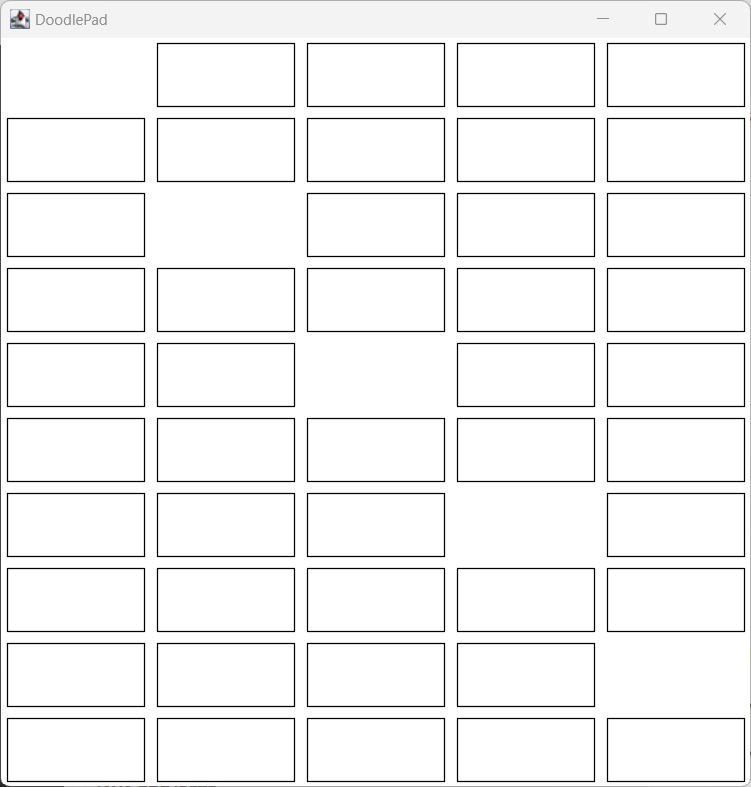
Grid1.java, but avoid drawing the Rectangle object whenever the x- and y-coordinate values are equal. We can accomplish this by adding an if-statement to the inner while-statement that only instantiates a new Rectangle when x and y are not equal. See Listing 5.6.5.// Grid3.java
import doodlepad.*; // Import graphics
public class Grid3 {
public static void main(String[] args) { // Start execution
int x, y; // Helpers;
x = 5; // Init x
while (x <= 550) { // x-coordinate loop
y = 5; // Init y
while (y <= 550) { // y-coordinate loop
if (x != y) { // Only when x != y
new Rectangle(x, y, 110, 50); // New Rectangle
}
y = y + 60; // Increment y
}
x = x + 120; // Increment x
}
}
}
Grid3.javaThere is no practical limit on the way we nest our control statements. We can place while-statements in if-statements, if-statements in while-statements, if-statements in while-statements that are in other while-statements, multiple if-statements in a single while-statement. It only depends on what you need for the problem you are trying to solve.

Grid3.java with missing Rectangles